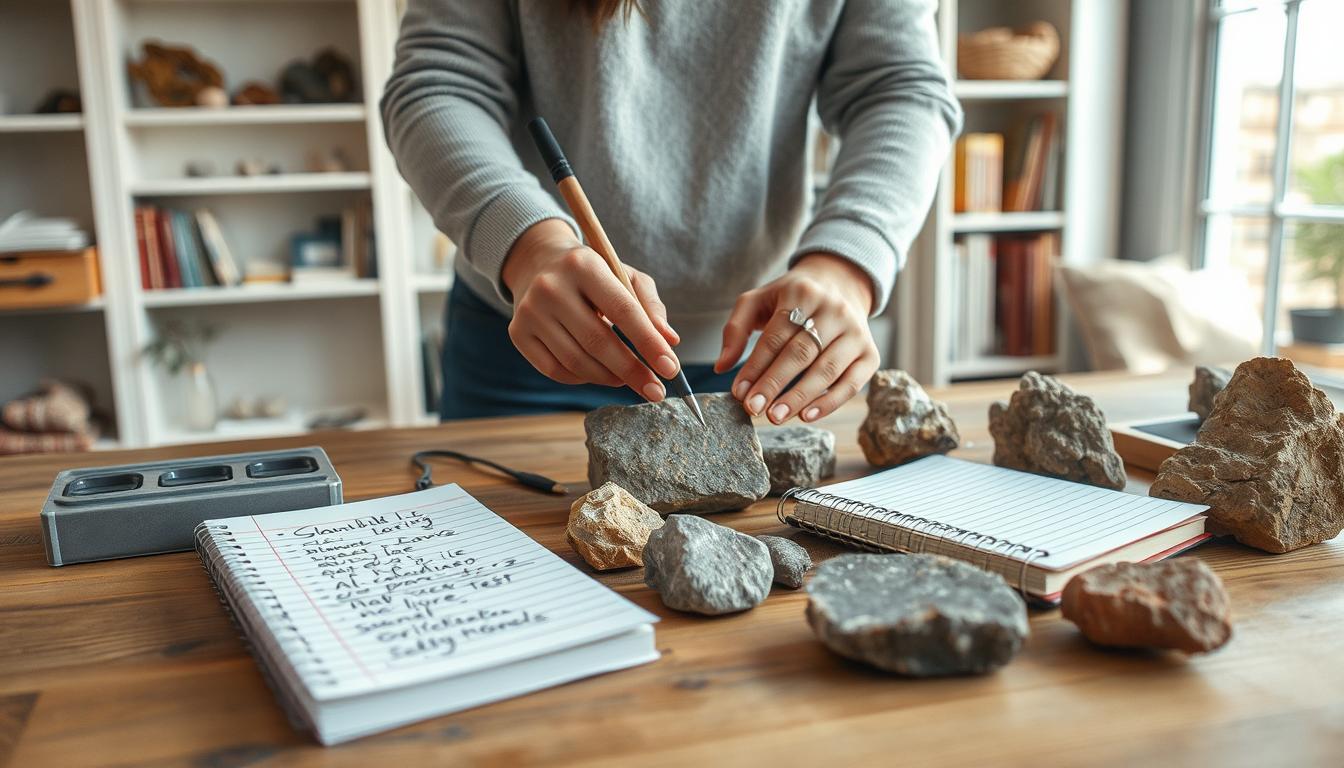
Quality photos are key in rock identification. A good photo shows a rock’s texture, color, and pattern. This helps experts and hobbyists figure out what kind of rock it is and where it comes from.
Good rock photography is more than just taking a picture. It’s about getting the right angles, lighting, and composition. By using some simple tips, you can make your rock photos better. This helps them be useful for identifying rocks.
Key Takeaways
- Understand the importance of quality photos in rock identification
- Learn how to capture the right angles and lighting for rock photography
- Discover the best practices for composing rock photography shots
- Improve your rock photography skills for better identification results
- Apply simple tips and techniques to enhance your rock images
The Importance of Quality Rock Photography
Taking high-quality photos of rocks is key for correct identification and record-keeping. Good photos are vital for rock identification. They offer a detailed visual record for comparison and analysis.
Why Good Photos Matter for Rock Identification
Quality photos are essential for accurate online identification. Clear photos are important when posting on online forums or databases. For example, the National Park Service’s geology section offers insights into various rocks and minerals.
Accuracy in Online Identification
Clear images help experts spot the rock’s texture, color, and structure. These details are key for correct identification.
Creating Valuable Documentation
High-quality photos also act as valuable documentation for rock collections. They provide a permanent record of the specimen’s appearance.
Common Challenges in Rock Photography
Despite the importance of quality photography, there are challenges. Two big ones are dealing with reflective surfaces and capturing true colors.
Reflective Surfaces
Some rocks have shiny surfaces that cause glare. This makes it hard to get clear images.
Capturing True Colors
Lighting greatly affects color accuracy in photos. Using the right lighting techniques is key to showing the rock’s true colors.
| Challenge | Impact on Photography | Solution |
|---|---|---|
| Reflective Surfaces | Glare and reflections | Adjust lighting, use polarizing filter |
| Color Accuracy | Inaccurate color representation | Use proper lighting, adjust white balance |
Essential Equipment for Rock Photography
To take great photos of rocks, you need the right tools. This includes everything from smartphones to DSLR cameras. The best equipment can really improve your rock photos.
Camera Options: From Smartphones to DSLRs
The camera is key for rock photos. Smartphones have improved a lot and are now good for photography.
Smartphone Photography Capabilities
Today’s smartphones have amazing cameras. They have high-resolution sensors and smart software. This makes them easy to use for rock photos.
Benefits of DSLR and Mirrorless Systems
If you want more control and better quality, DSLR and mirrorless cameras are better. They let you change lenses and have manual controls. This is great for detailed rock shots.
Lens Recommendations for Macro and Detail Work
A macro lens is essential for close-up rock shots. Macro lenses let you get very close. This shows textures and patterns you can’t see with your eyes.
Macro Lens Options and Alternatives
While macro lenses are the best, you can also use extension tubes and close-up filters. These are cheaper and can get you good macro shots.
Tripods and Stabilization Tools
A tripod is very important for rock photos. It’s needed for slow shutter speeds or macro shots. It keeps your camera steady for sharp photos.
Budget-Friendly Solutions
If you’re on a tight budget, there are cheap tripods. Tabletop tripods and mini tripods are small but work well in many places.
Setting Up Your Photography Space
Creating a great photography space is key for top-notch rock photos. A tidy area boosts your rock photography tips and fun.
Indoor vs. Outdoor Photography Considerations
Think about the light and setting for indoor or outdoor shots. Outdoor photos get natural light, but weather can change it.
Creating a Simple Photography Studio at Home
Building a home studio is easy and cheap. Begin with a DIY lightbox for better light and background.
DIY Lightbox Construction
Make a lightbox from a cardboard box, white paper, and LED lights. It softens light and cuts shadows, improving rock photos.
Background Selection and Preparation
Pick a background that stands out against your rock. A simple, clean background makes the rock pop. Make sure it’s smooth and wrinkle-free.
Lighting Techniques for Rock Photography
Getting the right light is key to show off rock details. Good lighting makes textures, colors, and looks pop. This makes your rocks stand out and look great.
Natural vs. Artificial Lighting
You can light your rocks with natural or artificial light. Natural lighting uses sunlight. It’s soft and great for showing small details.
Window Light Techniques
Window light is easy and cheap. Place your rock by a window for soft, indirect light. Stay away from direct sunlight to avoid harsh shadows.
Affordable Lighting Equipment
If you can’t use natural light, try affordable lighting equipment. LED panels or softbox lights work well. They give you control over the light.
Eliminating Shadows and Glare
Shadows and glare can be tough in rock photos. Diffusion methods help soften the light. This reduces harsh shadows.
Diffusion Methods
Use a diffuser or tracing paper to soften light. This trick is great with artificial light.
| Lighting Technique | Effect on Rock Photography |
|---|---|
| Natural Lighting | Soft, diffused light; ideal for subtle details |
| Artificial Lighting | Consistent and adjustable; useful for specific effects |
| Diffusion Methods | Reduces harsh shadows and glare |
Using Light to Highlight Specific Features
Directional lighting brings out rock textures. Backlighting shows off translucent parts.
Directional Lighting for Texture
Directional light makes rock textures stand out. It shows off surface details.
Backlighting for Translucent Specimens
Backlighting is best for clear rocks. It shows their transparency and inside details.
How to Photograph Rocks for Better Identification
Photographing rocks well is more than just snapping a picture. It needs careful planning and focus on details. To help identify rocks, photographers must pay attention to several important things.
Basic Composition Rules for Rock Photography
Good composition makes rock photos both useful and pretty. Two key parts of composition are choosing the right background and how you frame the rock.
Clean and Distraction-Free Backgrounds
A clean background helps the rock pop. Avoid backgrounds that are too busy or distracting because they can take away from the rock.
- Choose a simple background color that contrasts with the rock.
- Make sure the background is dust-free.
Framing and Positioning
How you frame and place the rock affects the photo’s quality.
- Try different angles to find the best view.
- Put the rock in a way that shows off its best features.
Capturing Multiple Angles and Surfaces
To fully document a rock, take pictures from various angles and surfaces.
Standard Views for Complete Documentation
Take different views to fully understand the rock’s features.
- Take pictures from the top, bottom, and sides.
- Photograph any special features or patterns.
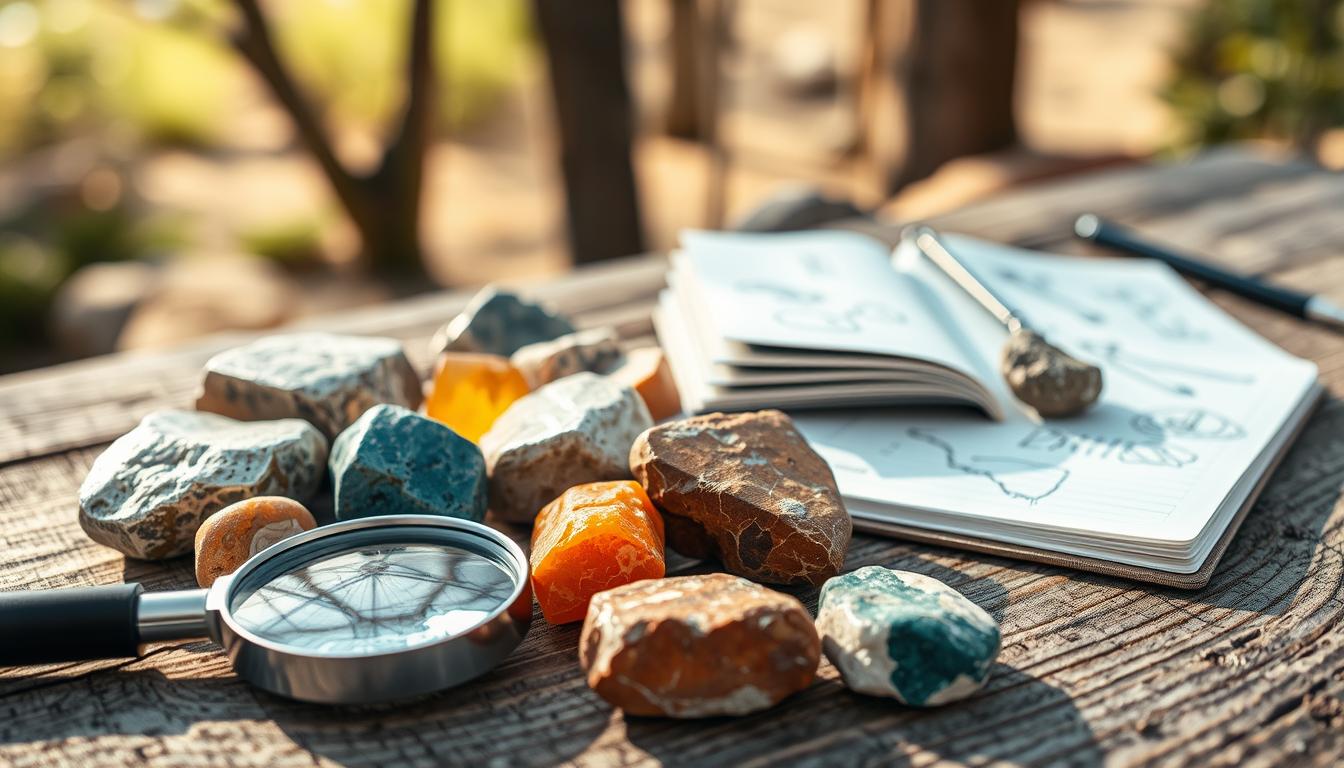
Scale Reference Techniques
Adding a scale reference to your photos is key for size and context.
Using Rulers and Coins
Rulers and coins are great for scale references.
- Put the scale reference next to the rock.
- Make sure it’s on the same level as the rock for accurate size.
Consistent Scale References
Using the same scale reference in all photos makes them easier to compare.
- Use the same scale reference for all photos.
- Keep the scale reference clear and easy to see.
By following these tips, you can make your rock photos better. This will help you identify and document your finds more easily.
Optimal Camera Settings for Rock Photography
To get great rock photos, you need to know your camera settings well. It’s all about finding the right balance of technical settings.
Aperture, Shutter Speed, and ISO Recommendations
Start with a low ISO (100-400) to cut down on noise and keep images sharp. Aperture and shutter speed help control depth and prevent camera shake.
Finding the Sweet Spot for Depth of Field
Use a small aperture (like f/8 or f/11) for rock photos. This makes sure the whole rock is in focus.
Balancing Settings for Sharpness
A tripod is key for steady shots, even with slow shutter speeds. For more tips, check out Dynamics GEX.
Focus Stacking for Maximum Depth of Field
Focus stacking takes multiple photos at different points and merges them. This creates an image with deep focus.
Step-by-Step Focus Stacking Process
- Set your camera to manual focus.
- Take multiple shots, adjusting the focus point for each.
- Use software to merge the images.
White Balance Considerations
Getting the white balance right is key for true rock colors. A gray card helps a lot.
Using Gray Cards for Accuracy
A gray card helps set the white balance in editing. This makes your rock photos look real.

| Setting | Recommendation |
|---|---|
| ISO | 100-400 |
| Aperture | f/8 – f/11 |
| Shutter Speed | Variable, use tripod for stability |
Smartphone Photography Techniques for Rocks
Smartphones are great for taking pictures of rocks. They are easy to use and can take good photos. With some tips, you can take detailed pictures of your rocks.
Maximizing Your Phone’s Camera Capabilities
First, learn what your phone’s camera can do. Use the manual mode to change how bright or sharp your photos are.
Recommended Apps for Rock Photography
- ProCam: Offers manual controls for exposure and focus.
- Camera+: Provides advanced features like image stabilization.
Add-on Lenses for Smartphones
Think about getting macro lenses or other smartphone lenses. They can help you take closer, clearer photos.
Stability and Lighting Challenges
It’s important to keep your camera steady. Use a tripod or other ways to stop it from shaking.
Improvised Smartphone Stabilization
You can make a simple stabilizer with things you have at home. Try using a mini tripod or books stacked up.
Post-Processing on Mobile Devices
Editing apps like Snapseed or Lightroom Mobile can improve your photos. Use them to make your rock pictures look better by changing brightness and color.
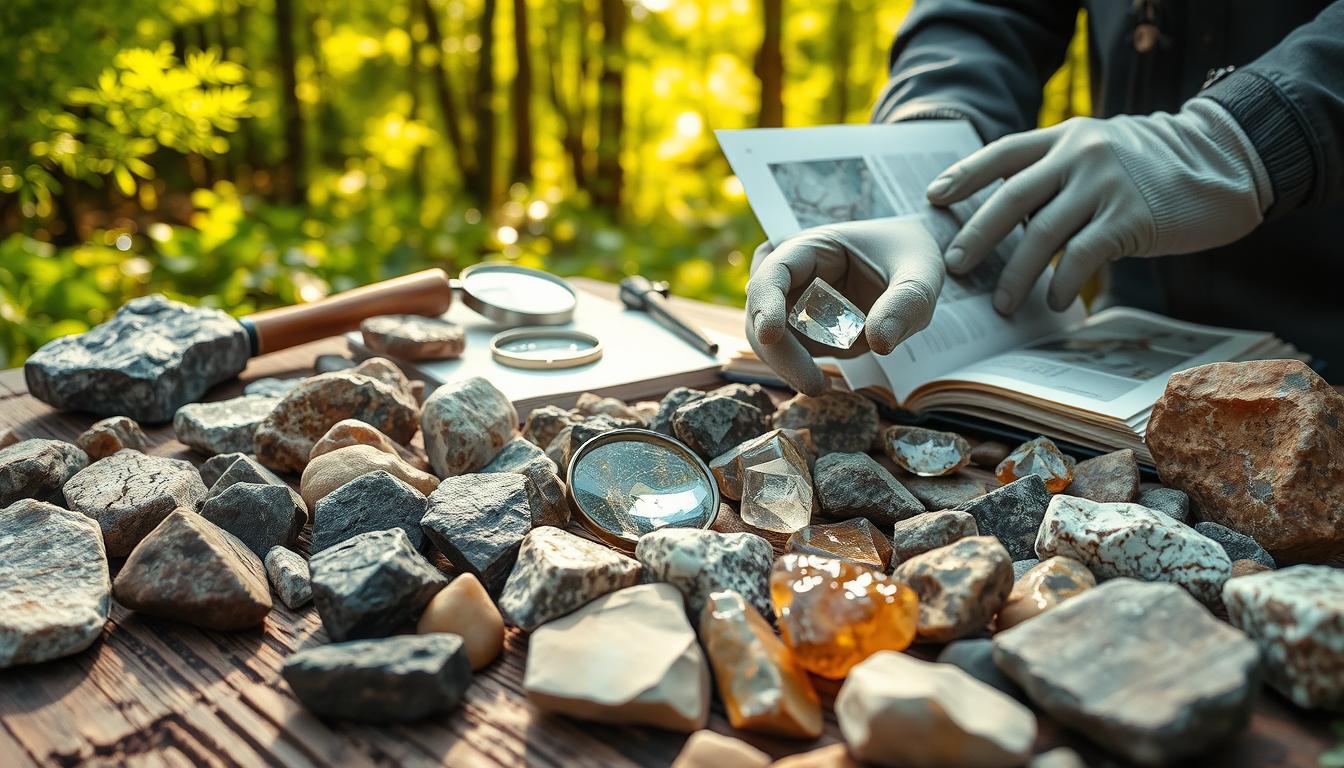
Capturing Specific Rock Properties
It’s key to capture the unique features of rocks for accurate identification. Photographers should focus on color, luster, texture, and crystal formations.
Photographing Color and Luster
The color and luster of a rock are key for its identification. Color calibration techniques are important to get the colors right.
Color Calibration Techniques
Using a color calibration chart, like a color reference card, helps get colors right. This is very important for rocks with slight color changes.
Capturing Metallic and Pearly Lusters
Metallic and pearly lusters need special lighting. Adjusting the light to reduce reflections and show the luster is key. A polarized light filter can help reduce glare and show the rock’s true luster.
Documenting Texture and Structure
The texture and structure of a rock tell us about its composition and how it formed. Lighting for grain visibility is key to show the texture.
Lighting for Grain Visibility
Directional lighting can make the rock’s texture stand out. By changing the light’s angle, you can create shadows that highlight the grain structure.
Photographing Crystal Formations
Crystal formations are very important for rock identification. Getting the right angle for these formations is critical.
Angle Considerations for Crystalline Structures
When photographing crystals, the angle is everything. Shooting from different angles can show the crystals’ three-dimensional structure.
| Property | Photography Technique | Importance |
|---|---|---|
| Color | Color calibration, controlled lighting | High |
| Luster | Adjusting light source, polarized filter | High |
| Texture | Directional lighting | Medium |
| Crystal Formations | Multi-angle shooting | High |
Special Techniques for Challenging Rock Types
Rocks with special properties need special photography ways. They can be shiny or see-through. To get their true look, you need to know how they work and use special tricks.
Photographing Highly Reflective Minerals
Shiny rocks are hard to take pictures of because they cause harsh glare. Polarization techniques help fix this problem.
Polarization Techniques
A polarizing filter can cut down glare. It makes the rock’s details clearer. This trick works best on shiny minerals.
Capturing Dark or Black Rocks
Dark or black rocks are tricky to get right. Exposure compensation strategies are key here.
Exposure Compensation Strategies
Lowering the exposure helps avoid overexposure. It keeps the rock’s texture and structure clear.
Techniques for Translucent and Transparent Specimens
Transparent rocks need a special way to be photographed. Often, transmitted light photography is used.
Transmitted Light Photography
Transmitted light shows off the inside of clear rocks. It’s great for learning what they are.

With these special methods, photographers can make rock pictures better. This makes it easier to study and identify these hard-to-capture rocks.
Post-Processing for Better Rock Identification
Enhancing rock images through post-processing is key for accurate identification. It lets photographers refine their images. This highlights details that might not be seen at first.
Basic Editing to Enhance Details
Basic editing includes several important techniques. These help make rock images clearer and more detailed. Sharpening, clarity enhancements, and contrast adjustments are key.
Sharpening and Clarity Adjustments
Sharpening an image makes the rock’s texture and structure clearer. This is vital for spotting minerals and crystal formations.
Contrast Enhancement Techniques
Changing the contrast can highlight rock features like color changes or inclusions. Good contrast makes analyzing the rock easier.
Color Correction and Accuracy
Keeping colors true is essential for rock identification. Color can show a rock’s composition.
Maintaining True Colors
Right white balance during and after photography is key. It ensures the image colors match the rock.
Software Options for Rock Photographers
Many software options exist for post-processing rock images. They range from free to paid.
Free vs. Paid Solutions
| Software | Cost | Key Features |
|---|---|---|
| GIMP | Free | Advanced editing tools, supports various formats |
| Adobe Lightroom | Paid | Professional-grade editing, batch processing, and organization tools |
| Canva | Freemium | User-friendly interface, basic editing tools, and templates |
Choosing the right software depends on your needs and skill level. For rock photographers, making precise adjustments is critical.
Creating a Consistent Photo Database for Your Collection
A good photo database helps you identify and sort rocks better. For rock lovers and collectors, it’s key to have a detailed and organized photo collection. This is vital for rock identification through photography and keeping records.
Organizing Your Rock Photography
To keep your photos in order, you need a clear plan. This plan should guide how you name and store your rock photos.
File Naming Conventions
Start with a consistent naming system for your files. Use the rock type, date, and a unique number. For example, “Granite_2023_001.jpg” shows the rock, year, and order.
Digital Organization Systems
Use folders and subfolders to organize your photos better. Sort them by rock type, where you found them, or when you took them. This makes finding photos easier.
Metadata and Documentation Best Practices
Adding metadata to your photos makes them more useful. Include collection details and link photos to their data.
Recording Collection Information
Keep track of when and where you found each rock. Also, note any geological facts. This info is great for future use and study.
Linking Photos to Specimen Data
Connecting your photos with their data helps you understand your collection better. Use a database or spreadsheet to link image names with their metadata.
Batch Processing for Consistency
Batch processing helps keep your photos consistent. It lets you edit many images at once.
Creating Templates and Presets
Make templates or presets for editing your photos. This keeps your images looking the same, making your collection look professional.
By following these tips, rock fans can build a strong photo database. This database supports professional rock photography techniques and helps accurately identify and document rocks.
[link-whisper-related-posts]Conclusion
Capturing high-quality images of rocks is key for their identification and documentation. By using the right lighting and taking pictures from different angles, you can improve your rock photography. Also, post-processing methods can make your photos even better.
Photographing rocks for better identification is more than just taking a picture. It’s about showing off the rock’s color, texture, and structure. By following the tips for rock photography, you can make a valuable visual record of your collection.
Good rock photography is not just about the camera. It’s also about how you present your specimens. Whether you’re experienced or new, better photography skills help with identification and sharing your finds with others.
FAQ
What is the best camera for rock photography?
The best camera for rock photography depends on your needs and budget. Smartphones are a good start. But DSLRs or mirrorless cameras with macro lenses offer more detail.
How do I deal with reflective surfaces when photographing rocks?
Use a polarizing filter or adjust the lighting to reduce glare. Try different angles and positions to capture the rock’s features without reflections.
What are the best lighting techniques for rock photography?
Mix natural and artificial lighting to enhance rock features. Soft, diffused light reduces shadows and glare. Directional light highlights textures and structures.
How do I capture the true colors of rocks in my photographs?
Use a color calibration tool or adjust white balance settings. Edit your photos with Adobe Lightroom or Photoshop for color accuracy.
What are some tips for photographing small rocks or mineral specimens?
Use a macro lens or extension tubes for detailed images. Try different angles and lighting setups. Use a scale reference for context.
How do I organize and store my rock photography database?
Create a consistent file naming system. Use metadata tags for each rock specimen’s details. Batch processing can streamline your workflow.
What post-processing techniques can I use to enhance my rock photographs?
Basic edits like adjusting brightness and contrast can help. Use Adobe Lightroom or Photoshop for advanced edits like color correction and noise reduction.
How can I improve the quality of my smartphone rock photography?
Use a tripod or stabilizer to reduce camera shake. Try different lighting setups to highlight rock features. Add-on lenses or editing apps can also improve your photos.
Subscribe to Our Newsletter